Book Appointment Now

How to Bake the Perfect Loaf of Bread
 Byimran

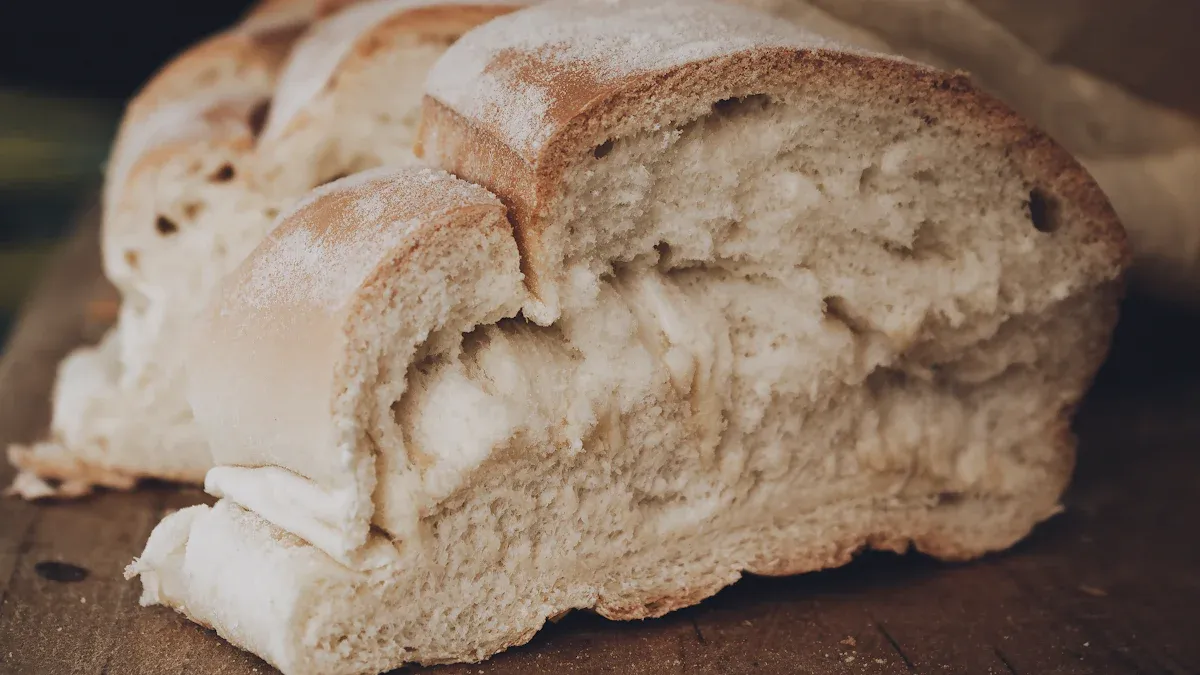
Baking bread at home brings a unique joy that few other activities can match. Imagine pulling a warm, golden loaf from the oven, its aroma filling your kitchen. There’s something truly satisfying about creating your own bread, and it can elevate any meal to new heights. To achieve this, you need to understand the basics of bread-making. With a little knowledge and practice, you can bake the perfect loaf that delights your family and friends.
Key Takeaways
Choose the right flour for your bread. Bread flour has higher protein content, which helps create a light and airy loaf.
Knead your dough for about 10 minutes. This develops gluten, giving your bread a chewy texture. Stop when the dough feels smooth and elastic.
Allow your dough to proof properly. Let it rise until it doubles in size for the best texture and flavor in your bread.
Avoid common mistakes like over-kneading or incorrect measurements. Precision is key to achieving a perfect loaf.
Experiment with flavors by adding herbs or spices. This can elevate your bread and make it unique.
Key Ingredients
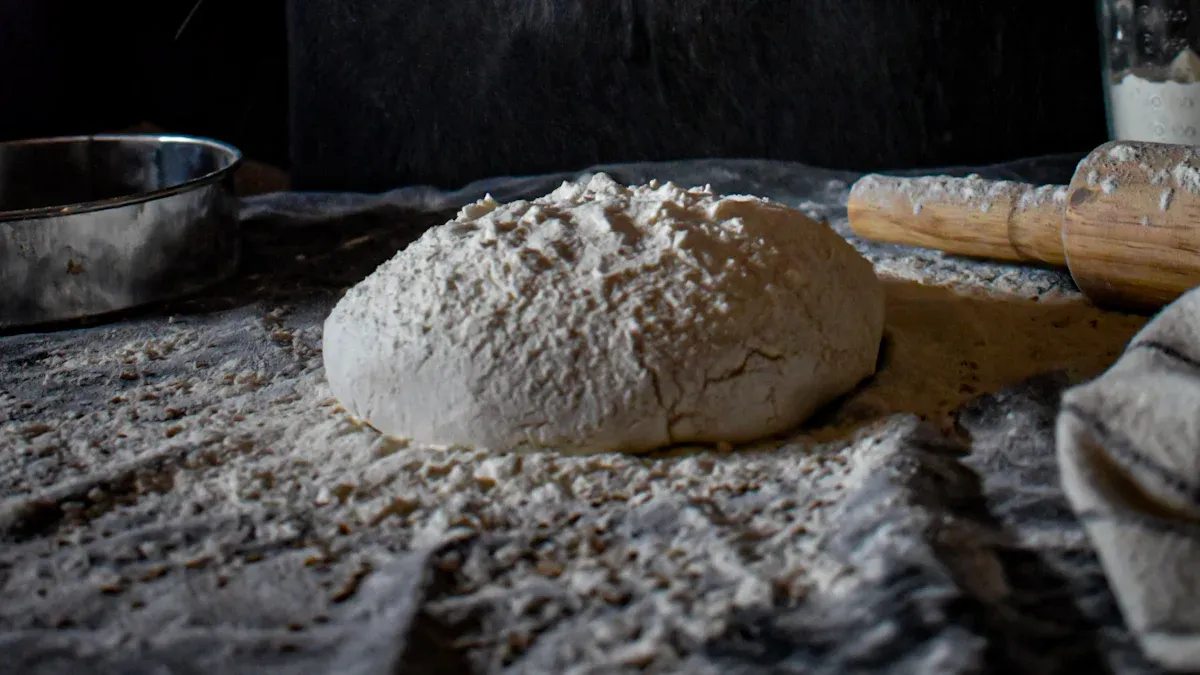
When it comes to baking bread, the ingredients you choose play a crucial role in the final product. Understanding the different types of flour, yeast, and additional ingredients can help you create a loaf that’s not only delicious but also has the perfect texture and rise.
Flour Types
Flour is the backbone of your bread. Different types of flour have varying gluten content, which affects the dough’s elasticity and the bread’s final texture. Here’s a quick look at some common flour types:
Type of Flour | Gluten Content | Description |
|---|---|---|
All-Purpose Flour | 9-11% | Versatile flour made from a mix of hard and soft wheat, suitable for various recipes. |
Bread Flour | 11-14% | Higher gluten content, ideal for creating elastic dough for light-textured breads. |
Whole Wheat Flour | Up to 16% | Made from the whole wheat berry, offers nutty flavors but can result in denser bread due to gluten damage. |
The protein content in flour significantly affects the texture and rise of bread. Higher protein flours create a stronger gluten network, which can trap more gas and lead to a higher rise. In contrast, lower protein flours result in a more tender crumb. For instance, bread flour typically has around 14-15% protein, making it ideal for achieving that perfect rise and strong gluten structure.
Yeast Varieties
Yeast is the magic ingredient that makes your bread rise. It ferments the sugars in the dough, producing carbon dioxide and alcohol, which contribute to the bread’s flavor and texture. Here are the main types of yeast you might encounter:
Type of Yeast | Characteristics | Usage |
|---|---|---|
Active Dry Yeast | Dried live yeast cells, requires proofing (though less so now), slower to rise. | Mix with dry ingredients; longer rise times develop flavor. |
Instant Yeast | Smaller granule size, dissolves quickly, faster to rise. | Mix directly with dry ingredients; no proofing needed, quicker rise than active dry yeast. |
Fresh Yeast | Comes in a compressed cake, highly perishable. | Typically found in refrigerated sections; specialty item, not commonly available. |
Different yeast strains can also influence the flavor and structure of your bread. The fermentation process generates various metabolites that enhance the flavor profile, including organic acids and alcohols, which are essential for the aroma and taste of the final product.
Additional Ingredients
Besides flour and yeast, other ingredients can elevate your bread. Here’s a look at some common additions and their roles:
Ingredient | Role |
|---|---|
Water | Essential for gluten formation, dissolves other ingredients, aids in yeast fermentation. |
Milk | Adds flavor, enriches dough, contributes to a creamy color and soft crumb. |
Salt | Enhances flavor, controls fermentation, strengthens gluten, prevents over-rising. |
Sugar | Optional, can speed up fermentation, influences crust color, prevents staleness. |
Eggs | Enriches flavor, improves texture, adds color, binds ingredients. |
Fats | Adds richness, moisture, tenderness to the bread. |
Using high-quality ingredients can significantly impact your bread’s flavor and texture. For example, organic flours are free from synthetic pesticides and GMOs, which can enhance the overall quality of your loaf. Choosing organic minimizes exposure to harmful substances, potentially reducing health risks.
By understanding these key ingredients and their roles, you can start experimenting with different combinations to find your perfect loaf. Happy baking!
How to Bake Bread: Baking Steps
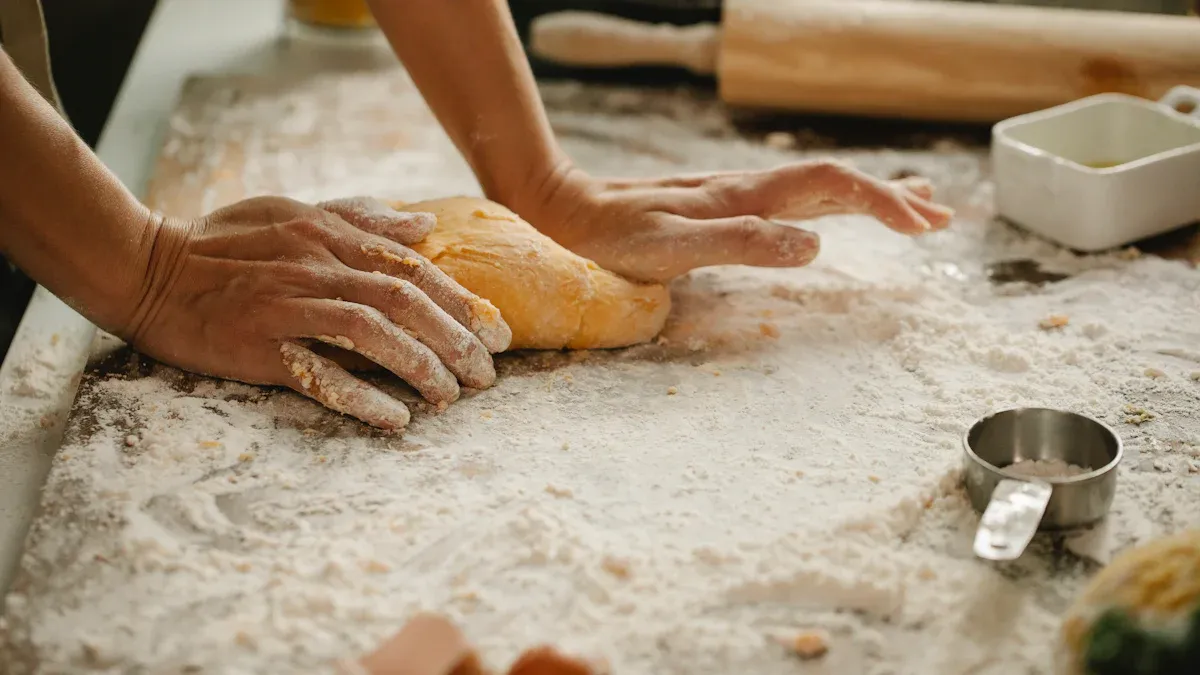
Baking bread is a rewarding process that involves several key steps. Let’s break down how to bake bread, starting from mixing the dough to the final proofing.
Mixing the Dough
Mixing is where the magic begins! You want to combine your ingredients thoroughly to create a cohesive dough. Here’s how to do it:
Measure Your Ingredients: Use the baker’s ratio as a guide. For basic bread dough, aim for a flour-to-water ratio of 5:3. This means for every 5 parts of flour, you’ll use 3 parts of water. This ratio helps achieve the right hydration level for your dough.
Combine Dry Ingredients: In a large bowl, mix your flour, salt, and any other dry ingredients. Make sure they’re evenly distributed.
Add Wet Ingredients: Gradually add water and any other wet ingredients like milk or eggs. Use a wooden spoon or your hands to mix until the dough starts to come together.
Tip: Mixing technique matters! Proper mixing generates heat through friction, which helps develop gluten. This is crucial for the dough’s structure and texture.
Kneading Techniques
Once your dough is mixed, it’s time to knead. Kneading develops the gluten, giving your bread its chewy texture. Here’s how to knead effectively:
Knead by Hand: Turn the dough onto a floured surface. Push it down and away from you with the heel of your hand. Fold it over, give it a quarter turn, and repeat. Aim for about 10 minutes of kneading.
Using a Stand Mixer: If you prefer, you can use a stand mixer with a dough hook. Mix on low to medium speed for about 10 minutes. This method is efficient and ensures even gluten development.
Note: It’s nearly impossible to over-knead dough by hand, so don’t worry too much about timing. Just ensure the dough feels smooth and elastic.
Proofing and Rising
Proofing is the final step before baking. This is when your dough rises and develops flavor. Here’s how to do it right:
Bulk Fermentation: Place your kneaded dough in a lightly greased bowl. Cover it with a damp cloth or plastic wrap. Let it rise at room temperature (75°F to 78°F) for about 3.5 to 4.5 hours, depending on the dough type.
Final Proofing: After the first rise, gently punch down the dough to release excess gas. Shape it into a loaf and place it in a greased loaf pan. Cover it again and let it rise until it doubles in size, usually about 30 minutes to 1 hour.
Important: Keep an eye on your dough during proofing. You can test its readiness by gently poking it. If the indentation springs back slowly, it’s ready to bake!
By following these steps, you’ll master the art of baking bread dough. Each stage is essential for achieving that perfect loaf you dream of. Happy baking!
Common Mistakes to Avoid
Baking bread can be tricky, and even seasoned bakers make mistakes. Here are some common pitfalls you should watch out for:
Over-Kneading
Kneading is essential for developing gluten, but too much can ruin your dough. Over-kneaded dough becomes tough and chewy, leading to a dense loaf. You want your dough to feel smooth and elastic, not like a rubber band.
Tip: If you’re using a stand mixer, keep an eye on the clock. Aim for about 10 minutes of kneading. If you’re kneading by hand, stop when the dough feels soft and pliable.
Incorrect Measurements
Precision is key in baking. Using too much or too little of an ingredient can throw off your entire loaf. For example, too much flour can lead to a dry loaf, while too little can result in a sticky mess. Always measure your ingredients accurately.
Mistake | Description |
|---|---|
Under-Proofing | Occurs when the dough is baked too soon, leading to a dense and gummy center due to insufficient gas expansion. |
Over-Proofing | Happens when the dough proofs for too long, causing it to collapse in the oven due to weakened gluten structure. |
Improper Scoring | Failing to score the dough can result in uncontrolled gas escape, leading to poor bread structure. |
Misshaping | Incorrect shaping can affect the final appearance and texture of the bread. |
Skipping Proofing
Proofing is a crucial step that allows your dough to rise and develop flavor. Skipping this step can lead to a dense loaf that lacks the airy texture you desire. Always give your dough enough time to rise.
Important: After shaping your dough, let it proof until it doubles in size. This usually takes about 30 minutes to an hour. You can test it by gently poking the dough; if it springs back slowly, it’s ready for the oven!
By avoiding these common mistakes, you’ll be well on your way to baking a perfect loaf of bread. Happy baking!
Tips for a Perfect Loaf of Bread
Adding Herbs and Spices
Enhancing your bread with herbs and spices can take it to the next level. You can add flavors like rosemary, thyme, or garlic to your dough. Just remember to use dried herbs for better distribution. Fresh herbs can add moisture, which might affect the dough’s consistency. A good rule of thumb is to start with about 1 tablespoon of dried herbs per loaf. Experimenting with spices like cinnamon or nutmeg can also create delightful variations.
Tip: Mix herbs and spices into the flour before adding wet ingredients. This helps distribute the flavors evenly throughout the dough.
Incorporating Whole Grains
Whole grains not only boost the nutritional value of your bread but also enhance its texture. They are rich in fiber, vitamins, and minerals. Here’s how whole grains can improve your loaf:
Nutritional Improvement | Textural Optimization |
|---|---|
Whole grains are a significant source of energy and nutrients. | Specific milling processes can enhance the texture of whole grain bread, reducing density and hardness. |
The consumption of whole grain foods is linked to a lower incidence of diseases. | Optimized pre-fermentation with enzymes can improve volume and crumb texture. |
When using whole grains, consider mixing them with all-purpose or bread flour to achieve a lighter texture. This balance can help you bake the perfect loaf of bread that’s both nutritious and delicious.
Experimenting with Shapes
The shape of your bread can significantly influence its texture and baking results. Smaller shapes like baguettes and ciabatta create a more open crumb structure. This happens because their reduced height allows air pockets to expand freely during baking. In contrast, round shapes like boules can lead to denser centers.
Note: Try different shapes to see how they affect your bread. You might find that a simple change in shape can lead to a delightful variation in texture.
By incorporating these tips, you can elevate your baking game and create a perfect loaf of bread that impresses everyone. Happy baking!
Troubleshooting Your Bread
Baking bread can sometimes lead to unexpected results. Don’t worry! Here are some common issues you might face and how to fix them.
Dense Loaf Solutions
If your loaf turns out dense, several factors could be at play. Here are some solutions to consider:
Check Your Yeast: Ensure your yeast is active. If it’s old or improperly stored, it may not rise well. Use warm water (between 105°F and 115°F) to activate it.
Flour Quality: Using low gluten or weak flour can affect your bread’s structure. Opt for bread flour with higher protein content for better results.
Dough Handling: Avoid over-mixing or adding too much flour. This can lead to a tough loaf. Aim for a smooth, elastic texture.
Proofing Time: Under or over-proofing can cause density issues. Make sure to let your dough rise until it doubles in size.
Baking Temperature: Baking at insufficient temperatures can hinder oven spring. Preheat your oven properly to ensure a good rise.
Flat Bread Fixes
Flat bread can be disappointing, but you can troubleshoot this issue effectively:
Assess Your Starter: If you’re baking sourdough bread, ensure your starter is strong enough. A weak starter can lead to flat loaves.
Flour Quality: Use high-quality flour. Inferior flour can affect the rise and texture of your bread.
Optimize Proofing: Make sure your dough is proofed correctly. If it’s not rising enough, adjust your proofing times.
Baking Method: Consider baking from a cold-start oven. This can help achieve a better rise and save energy.
Flavor Enhancements
Enhancing the flavor of your bread can elevate your baking game. Here are some tips:
Bread Type | Flour Blend | Flavor Notes |
|---|---|---|
Sourdough 1 | 50% High-Extraction Bread Flour, 25% Whole Wheat, 25% Kamut/Rye | This blend creates a tangy flavor due to the whole wheat levain. |
Baguette 1 | 50% AP Flour, 25% Bread Flour, 25% Kamut or Rye | This mix adds nuttiness and chewiness to your baguette. |
Long, slow fermentation allows the bacteria in the flour to release organic acids, enhancing flavor. This method works well for both sourdough and yeasted dough. Remember, balancing hydration is key. Increasing whole-grain flour requires more water to maintain texture.
By addressing these common issues, you can improve your bread-baking skills and enjoy delicious results every time. Happy baking!
Baking bread is a delightful journey filled with learning and creativity. Remember, practice makes perfect! Each loaf you bake teaches you something new, whether it’s about dough handling or fermentation. Here are a few tips to keep in mind:
Experiment with different recipes to find what works best for you.
Keep track of your measurements and processes for consistent results.
Don’t hesitate to try new ingredients or techniques.
With an easy to follow recipe and a bit of patience, you’ll soon master how to make the best homemade white bread. Enjoy the process, and happy baking!
FAQ
What is the best flour for homemade white bread?
For homemade white bread, use bread flour. It has a higher protein content, which helps create a strong gluten structure. This results in a light and airy loaf.
How long should I knead the dough?
Knead the dough for about 10 minutes. You want it to feel smooth and elastic. Over-kneading can make your bread tough, so keep an eye on the texture.
Can I use whole wheat flour for homemade white bread?
Yes, you can mix whole wheat flour with all-purpose or bread flour. This adds nutrition and flavor while still allowing you to achieve a light texture in your homemade white bread.
How do I know when my bread is done baking?
Your bread is done when it sounds hollow when tapped on the bottom. You can also check the internal temperature; it should be around 190°F to 200°F for homemade white bread.
What can I add to enhance the flavor of my homemade white bread?
You can add herbs, spices, or even cheese to your dough. Experiment with flavors like rosemary or garlic to create a unique twist on your homemade white bread.